1 Run the installer
In the downloaded zip file you will find an installer.
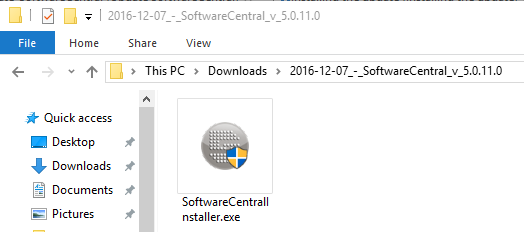
Launch the installer from the server where SoftwareCentral is installed.
The installer runs as a wizard. The steps below are in the order the wizard shows them.
2 Check the prerequisites
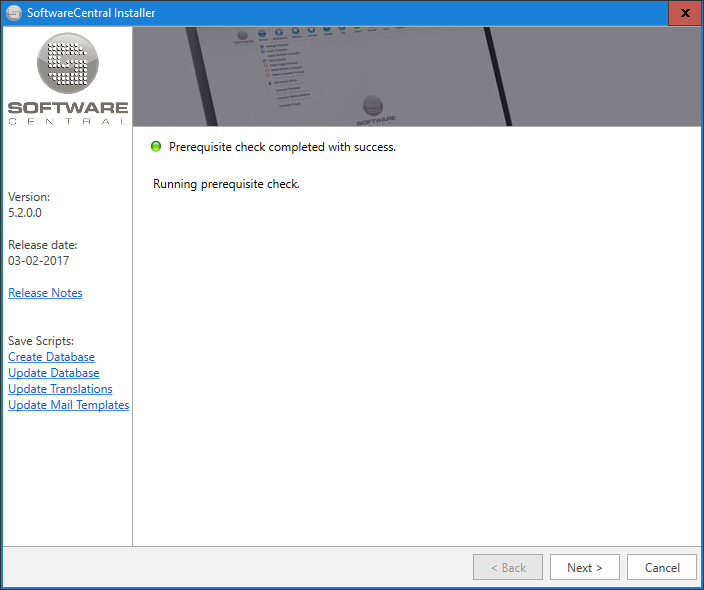
The first step runs a prerequisite check on the server to determine whether all required Server Roles are installed.
3 Application pool account
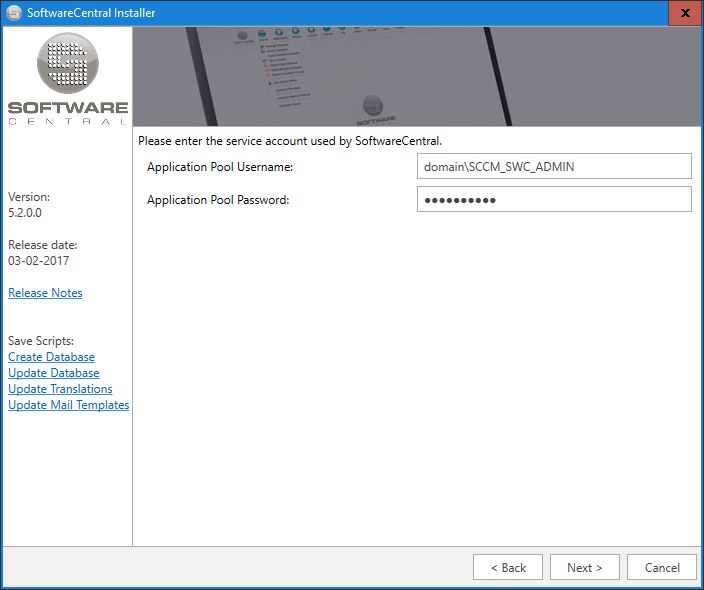
The next step requires the Application Pool user and password. This is the service account used by SoftwareCentral.
| Field | What to enter |
|---|---|
| Application Pool Username | The account that runs the SoftwareCentral application pool. Enter it as DOMAIN\account. |
| Application Pool Password | The password of that account. |
If the SoftwareCentral Windows service is not on the server yet, it is installed under this account. The account must be a local administrator on the web server. See Setup local admin permission.
4 Check SCCM (optional)
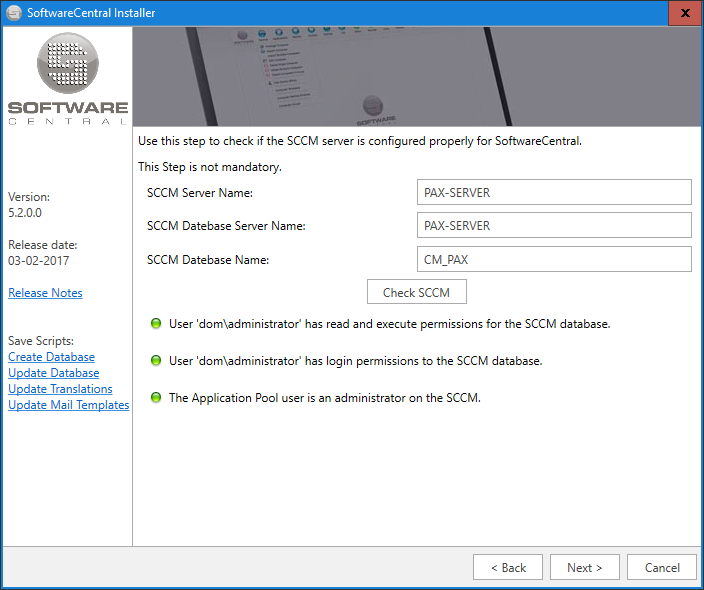
The next step can check your SCCM to see whether the service account (application pool user) has the proper permissions in SCCM and the SCCM database. This step is not mandatory.
| Field | What to enter |
|---|---|
| SCCM Server Name | The name of the Configuration Manager server. |
| SCCM Datebase Server Name | The SQL server that holds the ConfigMgr site database. |
| SCCM Datebase Name | The name of the ConfigMgr site database. |
Click Check SCCM. The installer reports three checks, each with a green dot when it passes:
- User 'account' has read and execute permissions for the SCCM database.
- User 'account' has login permissions to the SCCM database.
- The Application Pool user is an administrator on the SCCM.
5 Web site and database
In the next step you fill in the SoftwareCentral web site and database information.
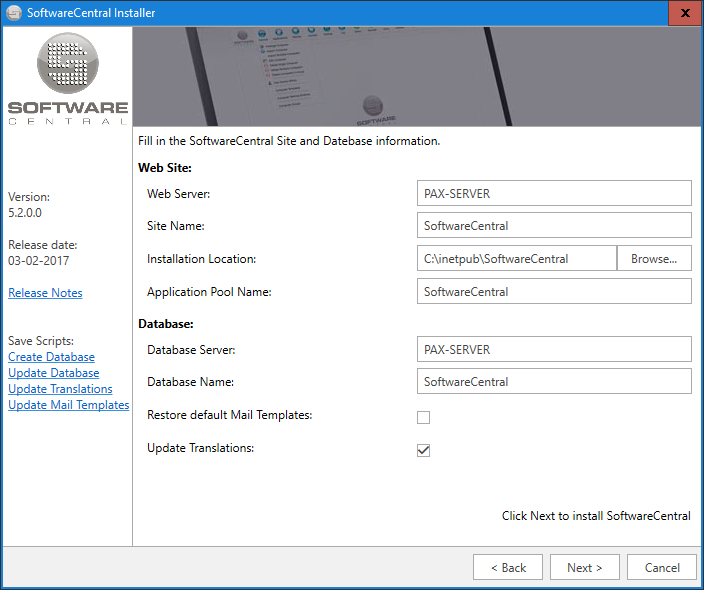
| Field | What it is |
|---|---|
| Web Server | The server that hosts the SoftwareCentral web site. |
| Site Name | The name of the web site. The installer shows SoftwareCentral. |
| Installation Location | The folder for the web site files. Use Browse... to pick another folder. The installer shows C:\inetpub\SoftwareCentral. |
| Application Pool Name | The name of the application pool. The installer shows SoftwareCentral. |
| Database Server | The server that holds the SoftwareCentral database. |
| Database Name | The name of the SoftwareCentral database. The installer shows SoftwareCentral. |
| Restore default Mail Templates | Not ticked by default. See the note below. |
| Update Translations | Ticked by default. Updates the translations in the database. |
When you click Next, SoftwareCentral is installed. It is important that you do not cancel the installation while it runs.
6 Installation and result
The installer shows each step in a log as it runs. The database and the translations are updated during this step.
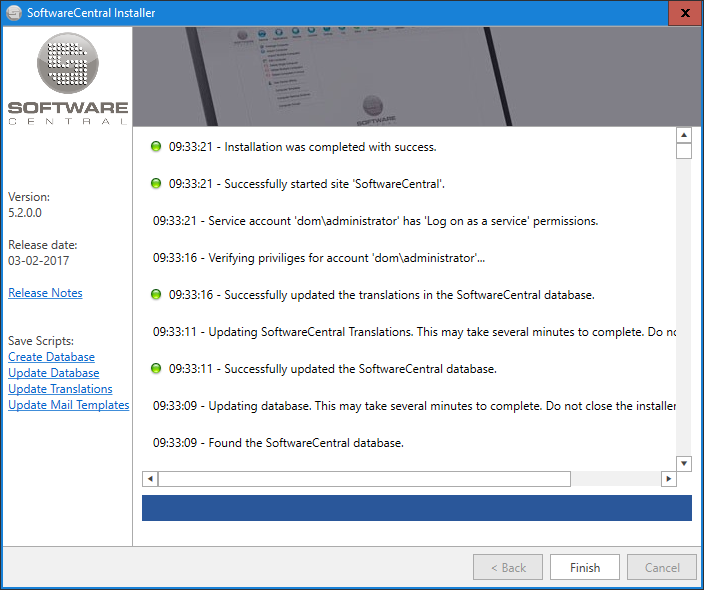
At the end of the installation, the installer gives you a summary of any errors which might have occurred.
Click Finish to close the installer.
You can run the installer again if something went wrong.
If the installer cannot create or update the database, fix the cause and run the installer again. The installing account needs full access to the SoftwareCentral database (see the note at the start of this page). Creating the SoftwareCentral database describes how to create the empty database. The installer then sets up its tables.
7 After the installation
The installer only creates the most basic web site. We recommend that you give your site a proper host name and bind the host name to the server's IP address in the forward lookup zones on your DNS.
- and .
HTTPS
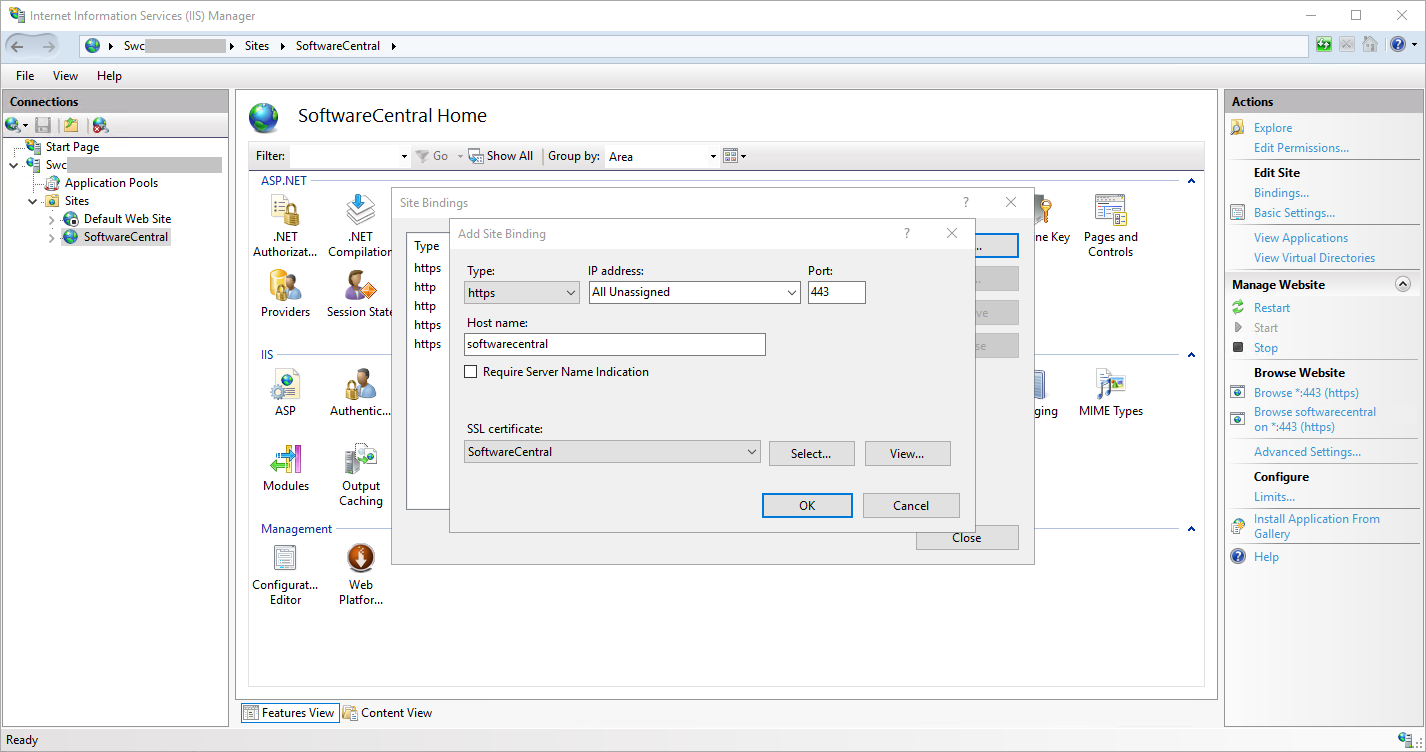
We also recommend that you set up SoftwareCentral with an SSL certificate. First install the certificate on the server. You can get it from your company certificate authority (CA).
Then add a new binding in IIS and set the type to https. Enter your host name and select your SSL certificate.
8 Next step
SoftwareCentral now needs to be configured before it is ready to use. See Basic configuration before use.
9 Best practice
- Use an account with the right rights. Run the installer as an account with administrative permissions on the web server and full access to the SoftwareCentral database.
- Prepare the application pool account first. The installer asks for it in step 3, and the SoftwareCentral service is installed under it. It needs to be a local administrator on the web server.
- Run the SCCM check if you use ConfigMgr. The step is optional, but it shows whether the account has the SCCM and database permissions before the site is in use.
- Keep your mail templates. Leave Restore default Mail Templates unticked if you have changed the templates or the translations, because restoring them overrides those changes.
- Use HTTPS and a host name. Use a host name that resolves in DNS and a certificate from your company CA, and bind the certificate in IIS.
10 Troubleshooting
| Symptom | Cause | What to do |
|---|---|---|
| The installer summary lists errors. | A step did not complete. | Fix the cause named in the error, then run the installer again. |
| The database cannot be created or updated. | The account that runs the installer does not have full access to the SoftwareCentral database. | Run the installer with an account that has full access to the database, then run it again. |
| A line in the SCCM check is not marked with a green dot. | The account is missing that permission in SCCM or the SCCM database. | Grant the permission (see Preparing the SCCM), then click Check SCCM again. |
| After installation, sign-in shows Access denied. The account you used does not belong to a tenant with access to SoftwareCentral. | The account is from a tenant that has not been added to SoftwareCentral. | Sign in with an account from a tenant that has been added to SoftwareCentral, or add the tenant. |